You’ve probably read or heard recommendations to dry your waders between uses, for comfort and to avoid mildew damage. You might be wondering why this is so important? The main reason is to avoid mildew growing on the inside which can damage the fabric and seam tape. Some amount of condensation will always be present on the inside of waterproof breathable waders, simply because of how the fabric functions. The material used on breathable waders works in this way; there are thousands of tiny holes, that are too small for moisture (water) to fit through but are big enough for vapor or air to move through. This allows air to flow through, hence making them breathable, but keeps water from passing through. Because the human body naturally passes moisture out through the skin, a bit of condensation build up throughout the legs, feet, knees and on the ankles is normal. If you’re interested we have more information about condensation here.
How should you dry your waders?
This is the easy part. Simply hang your waders up to dry in a warm well ventilated area, allow them to dry out completely between uses, and you’ll be ready for your next trip with dry and good smelling waders. In most situations we recommend just leaving the waders right side out, and hanging them by the hanging loop or clip the front buckle ends together and hang them up somewhere warm and well ventilated.
We’ve found that the only time we need to turn the waders inside to dry the inside is after we go for an inadvertent swim. If and when you fall in the river and fill your waders up, you will need to turn them inside out to fully drain and dry the inside before storing them. And remember to always wear your wading belt for safety!
The bottom line is that it pays to dry your waders to avoid mildew damage. Mildew is not only stinky and gross (and possibly harmful to your health), but it actually damages waterproof breathable fabrics and seam tape making them more likely to wear out and need to be replaced faster.
Do you waders have funk that you’d like to get rid of? Gearaid makes great cleaning products designed to work with our waterproof breathable fabrics.
We’ll leave you with these example photos below of what to avoid! The black spots shown over the fabric and seam tape is all black mildew, doing what it does best to damage and ruin these waders. So don’t ball your waders up and leave them on the floor or in the back of your truck!
How to find a leak and repair your breathable waders
Use these instructions and photo examples below to find and repair pinholes, tears, or holes in your breathable waders.
Step 1:
If there is a visible tear or hole then skip this step and proceed to step 2. To find a leak, first carefully visually inspect the area and see if you can see any tiny holes or tears. Often times you’ll be able to find the spot just by looking closely. If there is no visible hole or tear, then the alcohol method works well to find it.
To do this turn the waders inside out, and spray or rub a small amount of rubbing alcohol over the area you think is leaking. Then flip the waders back right side out and look for the wet spot. Any leaks will show as a damp spot on the outer side of the fabric. Mark this with masking tape or a marking pen, dry the waders and then move on to the repair.
Step 2:
Usually a small tear or leak can be completely repaired with just a little Aquaseal. Once you locate the leak, the easiest repair is to coat one or both sides with Aquaseal. A tip for using Aquaseal is to heat the bottle just a bit in warm water, which makes it much easier to use. To spread it, use a flat squeegee (a piece of cardstock or a business card works well) to form a thin layer over the affected area.
We recommend using some masking tape to mask off the area around the tear or pinhole to keep it contained to just the area around the tear.
For a durable wader repair using the material supplied in the repair kit, usually for a larger tear or rip, use a piece of the fabric supplied to cover the tear. Cut a piece of fabric to the relative size of the tear allowing it to overlap. Then Aquaseal over the tear, stick the fabric down and seal the edges of the fabric with Aquaseal.
This will create a permanent patch. Before doing any Aquaseal repair mask off the area with some masking tape, scotch tape, or any tape to help keep the Aquaseal in a neat area over the repair. Make sure to remove the tape after 10-15 minutes while the Aquaseal is still wet.
The seam tape that is included in the repair kit is heat activated. This is a bit more advanced, and there is potential for damage since you’ll be applying heat to an area of the fabric. For at home, an old iron set to medium high temp can work well to ‘iron on’ a bit of seam tape to the inside of the waders. This probably won’t be necessary and is not normally required. However this can seal the inside on a small tear, pinhole, or seam nicely when done correctly. This backing can also be done with gear repair tape like Tenacious tape.
Step 3:
Get back to fishing.
Note: Also recommend carrying Aquaseal UV on trips. It cures within 20-30 seconds in direct or indirect sunlight (UV) and can save the day in a pinch.
Photo examples of patching a tear.
In these photo examples we will show you steps to locate and repair breathable waders. This example shows an abrasion in the breathable wader fabric, that is repaired using Aquaseal and a fabric patch.
1 – 3. Photos showing the hole. This tear is visible on the exterior and interior. Photo 3 shows what the alcohol test looks like. For non visible pinholes it will just look like a wet spot.
4. Apply backing on the inside. In this photo we used heat sealed seam tape, essentially applied with a hand held iron. In place of seam tape you can use a gear repair tape like Tenacious tape, or skip this step altogether. If skipping, we recommend putting some regular tape on the inside over the hole to prevent Aquaseal from squeezing through in the next step.
5 & 6. Apply Aquaseal. We usually cut a small piece of cardboard stock from the packaging to apply. Apply Aquaseal and smooth over the hole, making sure it completely fills and covers the hole.
7. Measure and cut a piece of fabric from the supplied repair kit. Tenacious tape can be used in place of wader fabric in this step as well. Just be sure to cut the tape patch oversized enough so that there is at least 1/2 inch extra on all sides to stick to the fabric, and not over glue.
8. Apply a thin layer of Aquaseal to the backside of the fabric piece. Again use a small piece of cardboard or a business card as a tool.
9. Stick it down and let it dry. If the edges are lifting up you can use some masking tape to hold it down temporarily. So long as there isn’t a lot of extra glue coming out the edges the tape can be removed once it is dry.
10. To make a clean looking patch, surround the patch and any areas you don’t want to Aquaseal over with masking tape. Then apply Aquaseal around the edges of the patch. Be sure to remove the tape while the Aquseal is still wet. Otherwise it will be permanent. This step is completely optional.
11. The finished patch. This patch may not be pretty but is very durable.
Did you know DRYFT is a small independent family owned business? The two owners, Nick and Sam, and their families run daily operations and oversee all aspects of the business. If you’ve ever reached out to us with questions you’ve likely talked to one of us. We hand pack each order ourselves, and take pride in the products we sell. We appreciate your business and support and would like to say thank you. We hope you enjoy the holiday season with your family and friends.
-Sam & Nick
DRYFT owners Nick (left) and Sam (right) enjoying some of the fishing bounty that Alaska has to offer.
When the backcountry calls you better answer. This spring we had the opportunity to hike away from civilization and experience true wilderness. We only saw one other person over the three days we were there, and saw almost no signs of other people at all. No garbage. No development. Nothing. After fishing downstream all day it was more surprising to see an actual human boot print in the sand than more elk, bear, deer, or coyote tracks.
We could have asked for better fishing conditions, but there were a few fish around. With low and clear water the fish we did see were spooky and not much inclined to play with us.
If you’re in need of a re-set from the hectic day-to-day of modern life then consider unplugging from the stresses of the work week, stuffing a backpack and hitting the trail.
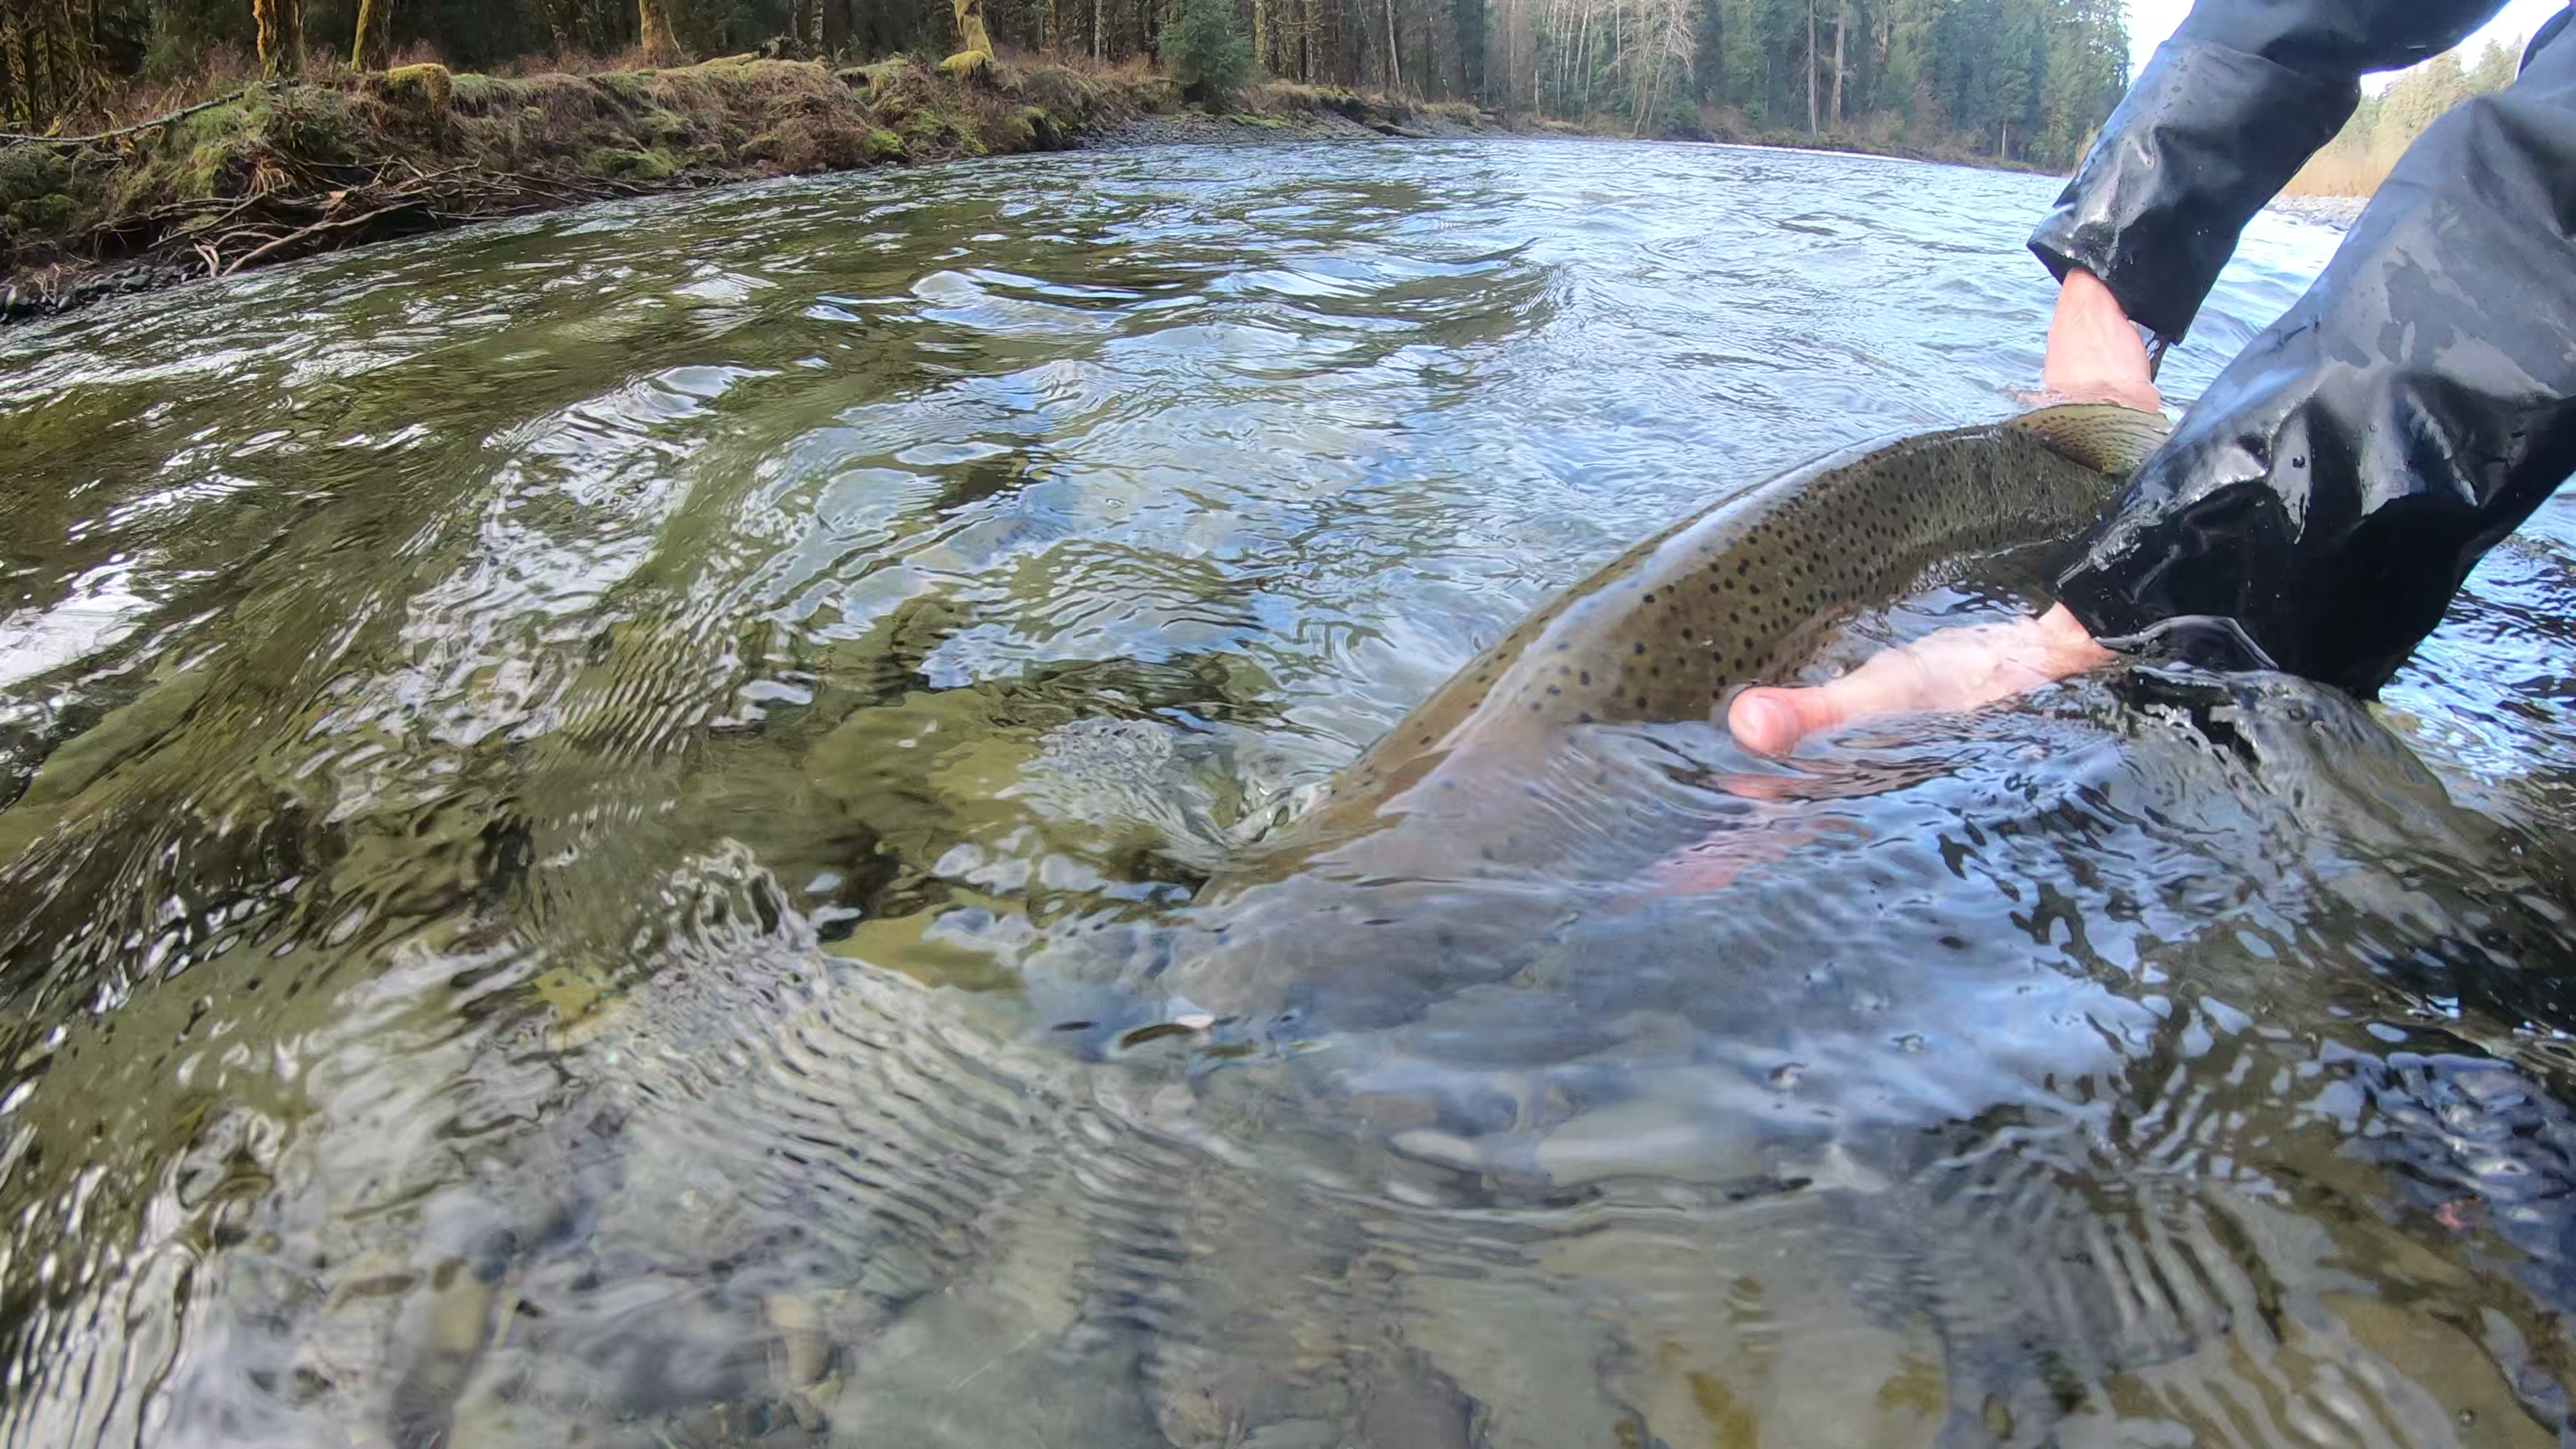
Strolling through the woods we were struck dumb. Not 20 feet from us was a squatch. We couldn’t believe what we were seeing. He had just landed a real trophy and was prepping it for release. The hook was out as he cradled it gently in the water. A branch cracked under my foot, he looked up and made eye contact. He saw the camera pointing at him and hoisted his catch up high for a quick hero shot. Click click click. The camera whirred away taking shot after shot. This could be it. Proof that the legend exists!
Taking a moment of zen to admire his catch…
And wouldn’t you know it…he was all decked out in DRYFT wading gear. Looks like we found our new unnofficial mascot.
A quick hero pose for the camera. And ready for release.


 SEEKR Wading PantsOriginal price was: $299.00.$239.20Current price is: $239.20.
 BKCNTRY Waterproof BackpackOriginal price was: $199.00.$149.00Current price is: $149.00.