Ethan lost the use of his lower body as a teenager due to a rare medical condition. Facing the very real prospect of not surviving a series of surgeries that could help alleviate his paralysis Ethan has decided to learn to live with the cards life dealt.
Fly fishing has become a saving grace for Ethan as he returns to the water and the sport he loves in this triumphant story.
Please enjoy this short film while considering the strength of the human spirit and the power of positivity that Ethan displays.
The story of Ethan Parsons is a tale of the human spirit and the power of positivity. Stay tuned for the full film releasing Friday, April 1st.
Ethan lost the use of his lower body as a teenager due to a rare medical condition. Facing the very real prospect of not surviving a series of surgeries that could help alleviate his paralysis Ethan has decided to learn to live with the cards life dealt.
Fly fishing has become a saving grace for Ethan as he returns to the water and the sport he loves in this triumphant story.
The BKCNTRY fishing hip pack is a pint sized bomber of a waterproof pack designed for comfort and utility. The 5 liter main compartment rolls down to be watertight, and allows easy access with clips on each side. Inside the main compartment are inner mesh pockets to help compartmentalize your small items. Continue reading…
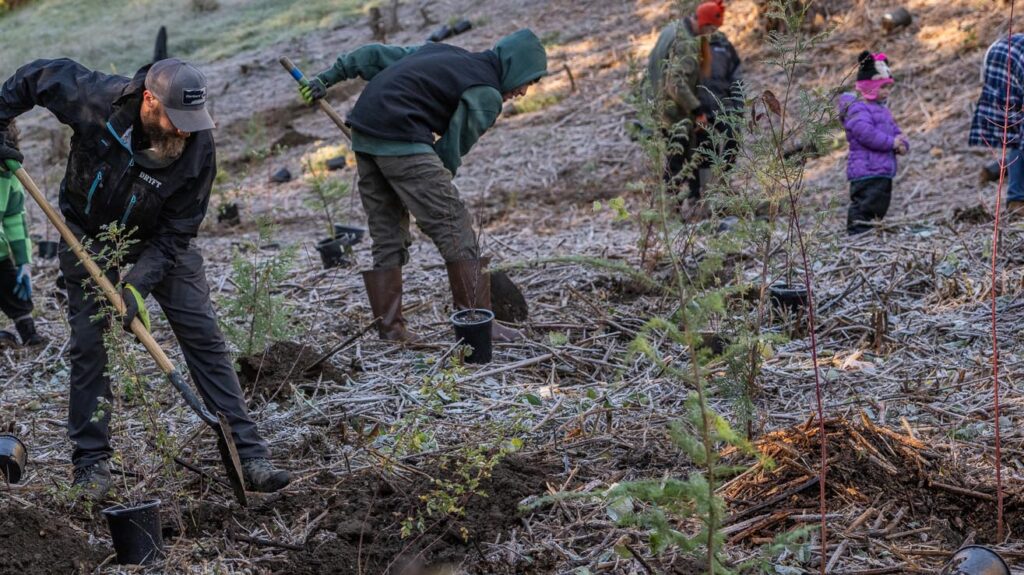
The Tongass is the Nation’s largest national forest; it supplies habitat for abundant fish and wildlife and ample recreation opportunities in the southeast Alaska region. When you imagine yourself on a remote fishing or hunting trip, a wild landscape where large trout, wild salmon and steelhead, and big game are plentiful, or breathtaking scenery where you can get away from it all, the odds are good you’re thinking of a roadless area in the Tongass National Forest.
From the Situk River in the north to Prince of Wales Island in the south, the Tongass provides hunters, anglers and outdoor recreationists some of the best and most diverse outdoor opportunities available in North America. Taking care of the land that takes care of Southeast Alaska businesses is just common sense.
Recently, the U.S. Forest Service has proposed restoring protections for more than 9 million acres of roadless areas in the Tongass National Forest, reinstating the 2001 Roadless Rule after it was hastily repealed late last year. The removal of the rule went against the wishes of 96% of all public comments, Southeast Alaska Tribal governments, and local anglers, hunters and outdoor recreationists. This news has spurred a 60 -day comment period to provide the public’s input on the reinstatement of the roadless rule on the Tongass National Forest. If approved, the roadless rule will be reinstated on the Tongass and will safeguard important fish, wildlife and recreation areas.
This comment period is the next step toward implementing the Forest Service’s new “Southeast Alaska Sustainability Strategy”. The strategy ends large scale, old-growth logging on the forest and will, instead, prioritize recreation, restoration and resiliency, and make significant new investments in projects that support sustainable economic growth and community health.
The strategy is part of the Forest Service’s effort to align its forest management with the ecological and economic realities of the region. The Tongass produces more salmon than all other national forests combined and supports fishing and tourism industries that account for 26% of local jobs in the region. In contrast, logging supports fewer than 1% of local jobs while harming the fishing and tourism industries, costing taxpayers million annually, and supporting export markets instead of local demand. This strategy recognizes the Tongass is most valuable for its wild salmon, abundant wildlife, and scenic landscapes, and will support Southeast Alaska’s diversified economy and help conserve scarce forest resources.
Reinstating the roadless rule is what’s best for the land, wildlife, people and economy of Southeast Alaska. Tell the U.S. Forest Service you agree and take action today. We are happy to speak up for the Tongass and encourage everyone to submit a comment supporting continued protections on wildlife and recreation habitat in Southeast Alaska. To learn more, visit AmericanSalmonForest.org
If you have damage to your neoprene stockingfeet use these tips to find and repair the hole. Neoprene stockingfeet on fishing waders can get punctured by things such as stepping on sharp rocks or gravel or from using worn out boots causing puncures or abrasion. Old worn out boots will damage neoprene stockingfeet when the liner is worn down and sharp edges are exposed. This can lead to damage on the top, toe, or bottom of the stockingfoot. Repairs are fairly easy and will hold up well if done correctly.
What you’ll need:
A water source for testing and somewhere dry to hang the waders.
Step by step instructions for repairing fishing wader neoprene stockingfeet
Find the hole. The first step is to look for differences in the area that seems to be letting water through. If you can see an indentation, or abrasion in the neoprene is a good indication that something is wrong in that spot. A surefire way to test the feet is to turn the waders inside out and fill the feet with water. Usually hanging the waders while doing this is the easiest way to control the flow of water when filling the inside. If there is a hole you’ll see water dripping out of it.
Water dripping out of a puncture hole. This is the inside of the stockingfoot (waders inside out) filled with water.The outside of the toe. The hole can be visually seen as an indentation. These are the same waders as pictured alongside with water dripping through the hole. A sharp edge inside a worn out boot punctured this hole.
Next step; Fix the hole. Once the waders are dry this can be accomplished simply by rubbing a small amount of Aquaseal or Aquaseal NEO into the hole, making sure to rub it into the hole so that it fills the inside of the hole. We recommend backing the inside with some masking tape or Gearaid Tenacious Tape, and then filling the hole from the outside. Once it’s full and Aquaseal fills the hole apply a thin layer out to about 1/4-1/2″ on all sides of the hole. We like to apply a small piece of Tenacious Tape over the Aquaseal at this point, which will be removed later, to make a clean and smooth exterior to the patch.
Materials you will need: Aquaseal or Aquaseal NEO, tape such as clear Tenacious Tape, cardstock (packaging works well) and scissors.Cut cardstock to a rounded point and apply small amount of Aquaseal.Rub it in and use the point to get it inside the hole or tear.Cover the area to 1/4″-1/2″ on all sides of the puncture.We’re using clear Tenacious tape here to help the Aquaseal cure flat.Apply the tape and rub out any air bubbles to the sides. This tape will be removed once dry in 24 hours.Peeling tape 24 hours later.Finished repair. The tape makes it finish flat.Finished repair.
Carplandia is a short story about carp and smallmouth bass fly fishing on the dry side of Washington state. Stalking the flats and fishing from sunken roads cutting through the middle of bays is a unique experience. Check out Carplandia from Waist Deep Media.
Steelhead fishing in the PNW is a lifetime pursuit. Swinging flies for steelhead is another endeavour entirely. Conditions rarely line up to film this type of unlikely connection from the air. After all, drones are noisy and who wants to take the blame for spooking the run with that jazz?
But if you are prepared and patient sometimes the cosmos throws you a bone and a magic moment is immortalized in a way once only pictured in our dreams.
Friendships forged on the river while steelhead fishing seem to stand the tests of time. This story is no different. Three people, three friendships born out of the same waters and one fish that gave her all.
A surprise season that rewarded the patient and an example of compromise between anglers and organizations in a movement towards a sustainable future,
Thank you anglers, let’s continue to work together for the future of our fisheries united.
Rain, sleet, snow. Say hello to our little friend, the Women’s Primo Rain Jacket.
The Primo Rain Jacket for women excels at keeping you dry on those hardcore bad weather days, and has all of the features and stash pockets you need for a full day on the water. This full length fishing jacket is designed to be worn with chest waders, wading pants, rain pants, or just by itself.
Constructed of strong yet breathable submersion rated 3 layer nylon fabrics, it is made to keep you dry and comfortable all day and features six large pockets to stash gear, along with water resistant pit zip openings to vent excess heat.
This is a top of the line rain jacket that excels at keeping you dry all day no matter the conditions. Recommended for all uses including with full waders, wading pants, rain pants, or just by itself.
You can’t buy happiness, but you can buy this jacket. Which is pretty much the same thing.