We get asked about the tightness of the neoprene gravel guards on the Primo Zip GD and S14 waders. We designed them to be tight fitting for one main reason – to keep sand and gravel out of your boot. Loose fitting gravel guards can allow sand, silt, and gravel to get up inside the boot, and can get pushed up by heavy current unless securely hooked in place. More about the lace hook below.
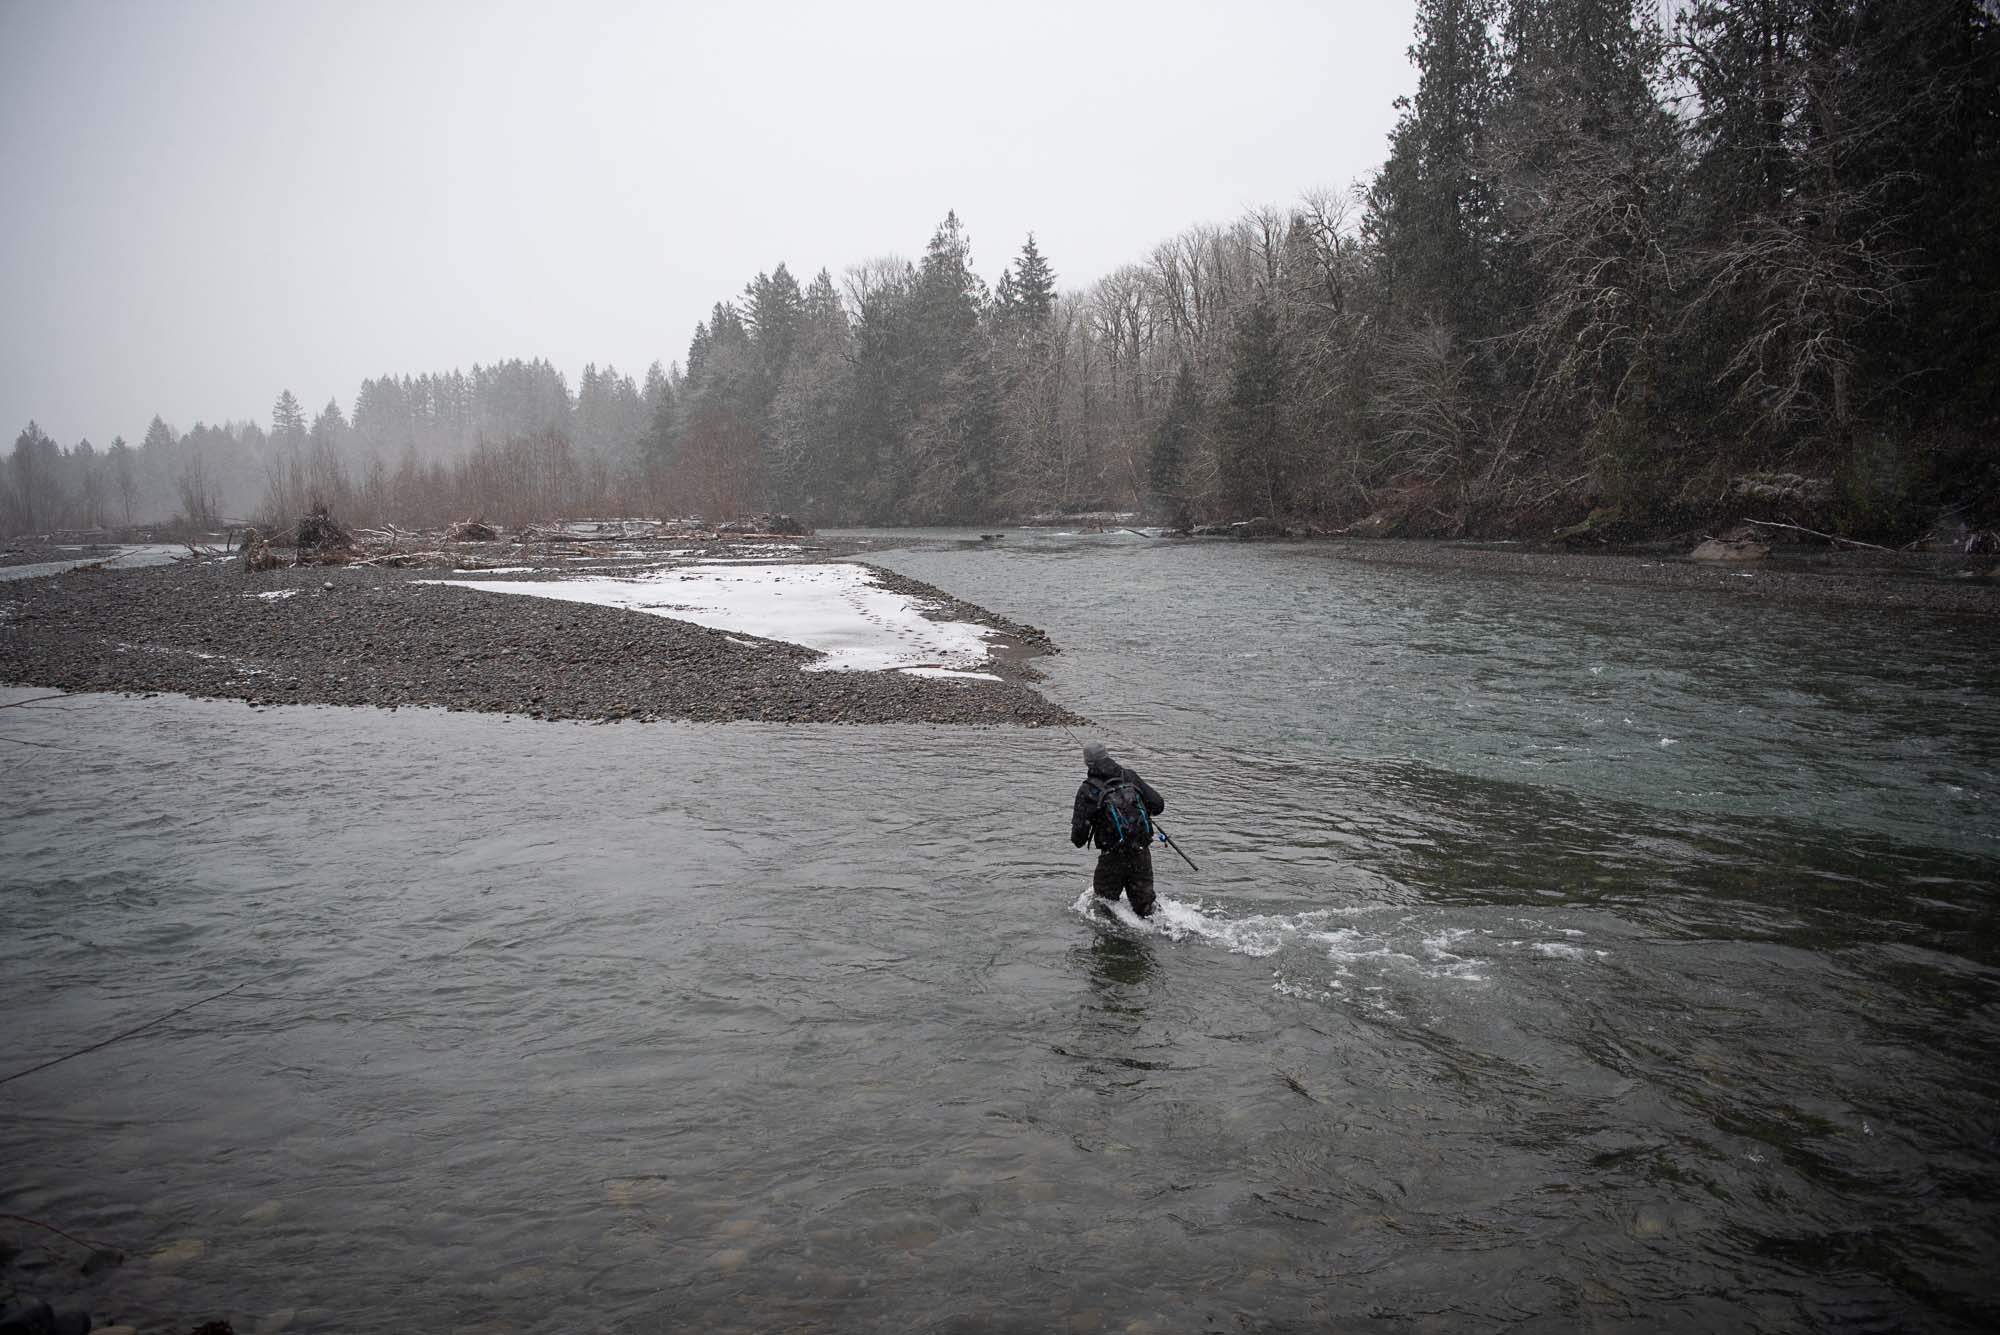
But first, let’s talk about the function of gravel guards. In this video I had been wading through a side channel that was full of thick and deep silty sand and mud. With each step I was sinking into the mud, and even though I had been wading in fast current only moments before the gravel guard was still firmly in place where it needed to be to keep the inside of my boots clean and clear of sand, mud and gravel.
Check out this short video for a detailed view of how I use the gravel guards
Tuck it up inside
The functional purpose of a tight gravel guard is that it makes the lace hook somewhat redundant, and in some cases the lace hook may not even need to be used. Fit is going to be different for everyone, depending on wader size and boot size, so this may not apply to everyone. Also, some boots have a lace hook attachment near where the gravel guard sits naturally, and some boots do not. For me, the gravel guards fit tightly enough over the boot that I don’t need to use the lace hook at all. I just tuck it up inside the gravel guard itself. The guard doesn’t move on me, even when wading in the heaviest currents.
Avoid damaging your boots and waders
I like tucking the lace hook up inside the gravel guard (and not attaching it to the boot) because stretching the gravel guard way down towards the toe on a boot, where the hook is located on some boots, can pull and put stress on multiple parts of the wader and on the boot and boot laces. My waders and boots they last longer for me because I don’t do this.

Something to keep in mind is that straight out of the box the neoprene gravel guards may seem tight, but they will loosen up a bit over time and become easier to pull down over your boot. They are designed to keep sand and gravel out of your boots, and will do their job well with or without the lace hook.
Happy fishing!
-Nick