If you have damage to your neoprene stockingfeet use these tips to find and repair the hole. Neoprene stockingfeet on fishing waders can get punctured by things such as stepping on sharp rocks or gravel or from using worn out boots causing puncures or abrasion. Old worn out boots will damage neoprene stockingfeet when the liner is worn down and sharp edges are exposed. This can lead to damage on the top, toe, or bottom of the stockingfoot. Repairs are fairly easy and will hold up well if done correctly.
What you’ll need:
- A water source for testing and somewhere dry to hang the waders.
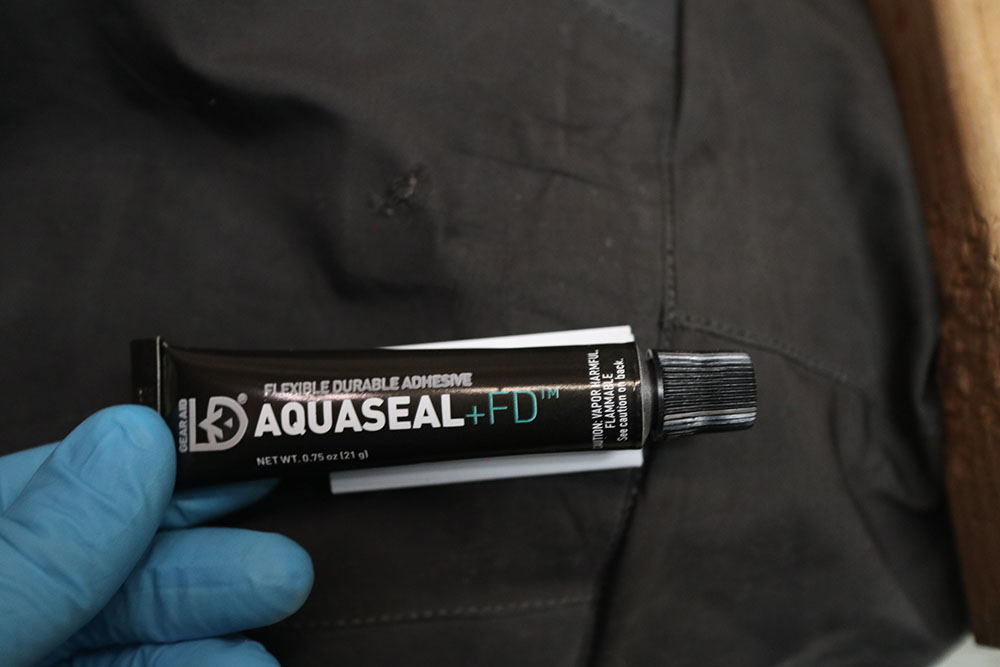
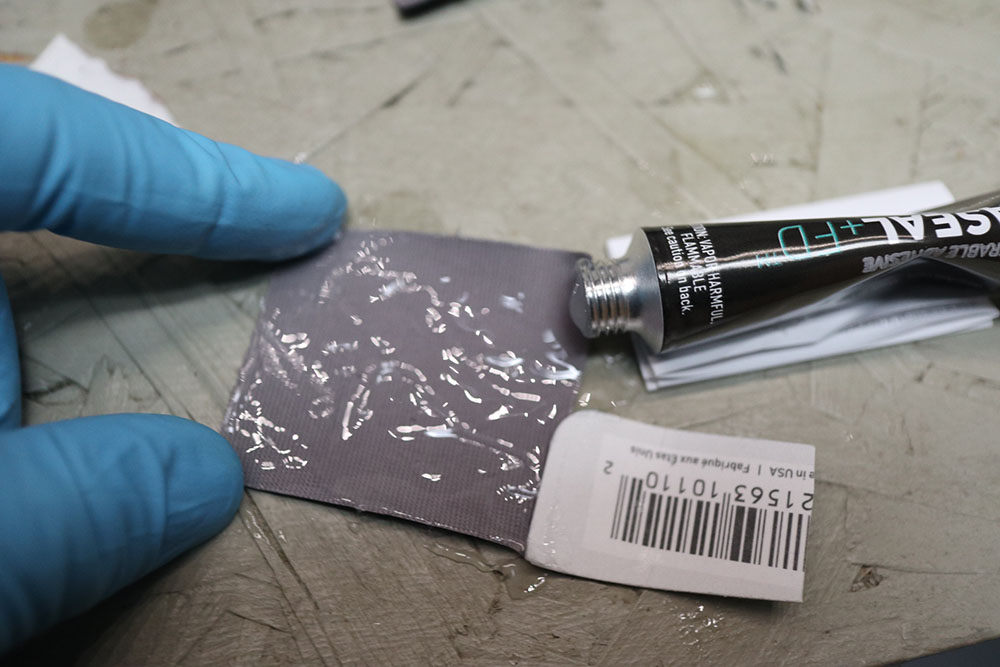
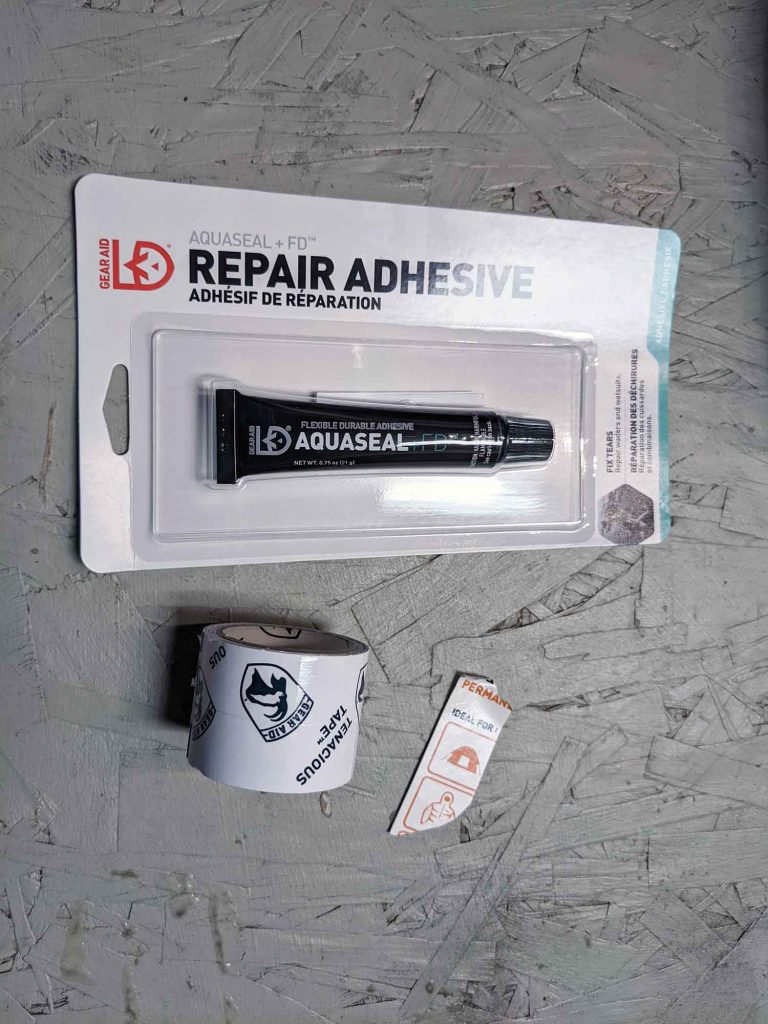
- Regular Aquaseal (not UV) or Aquaseal NEO.
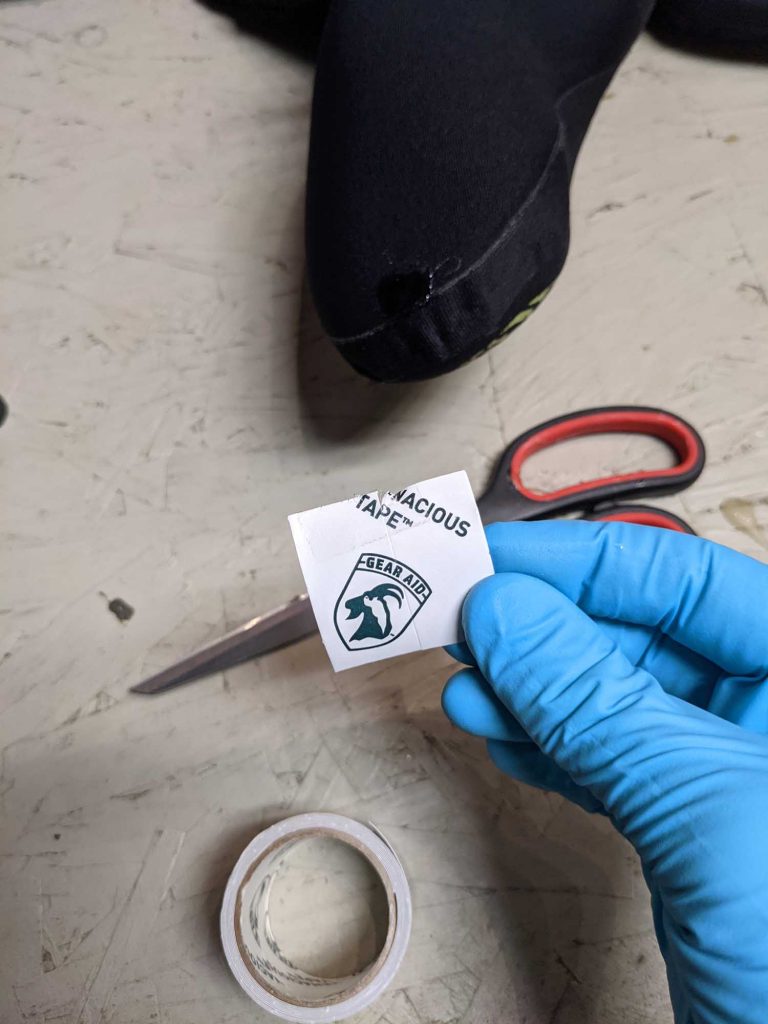
- Masking tape or Tenacious Tape.
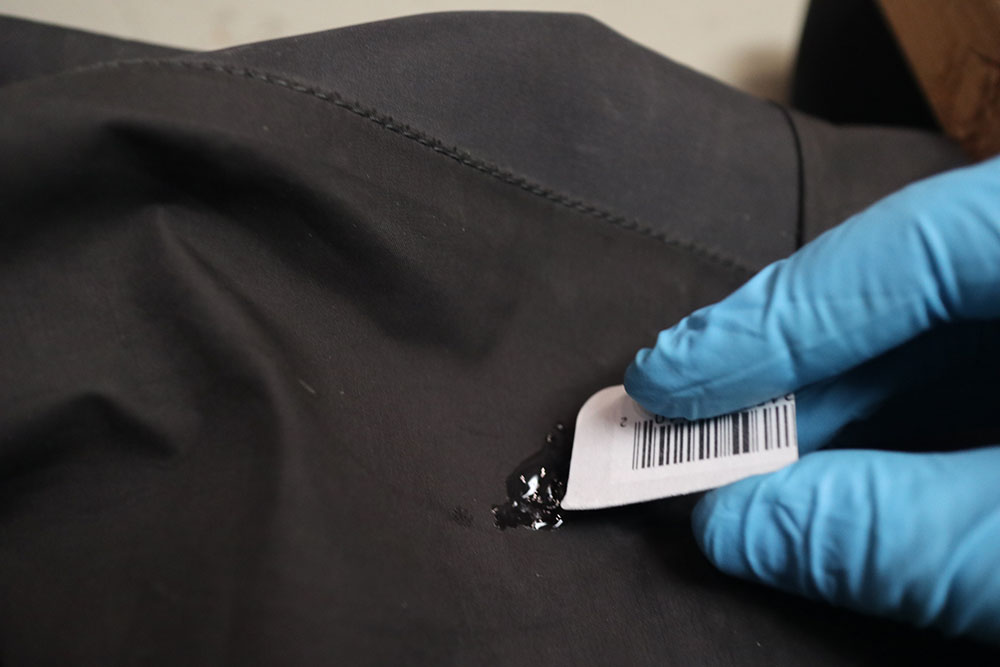
- Cardstock or a business card and latex gloves.
Step by step instructions for repairing fishing wader neoprene stockingfeet
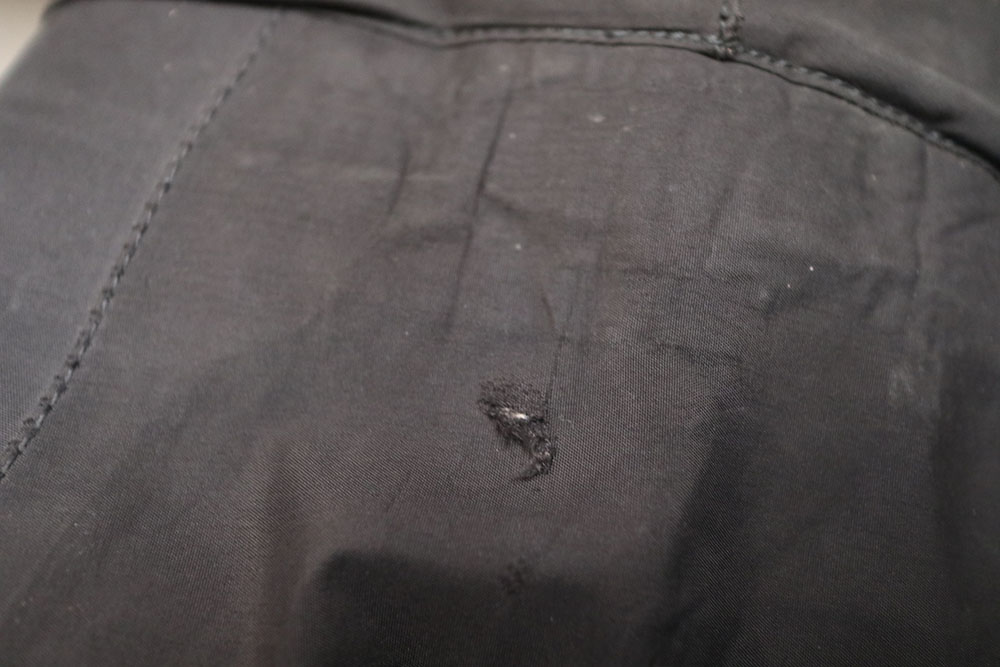
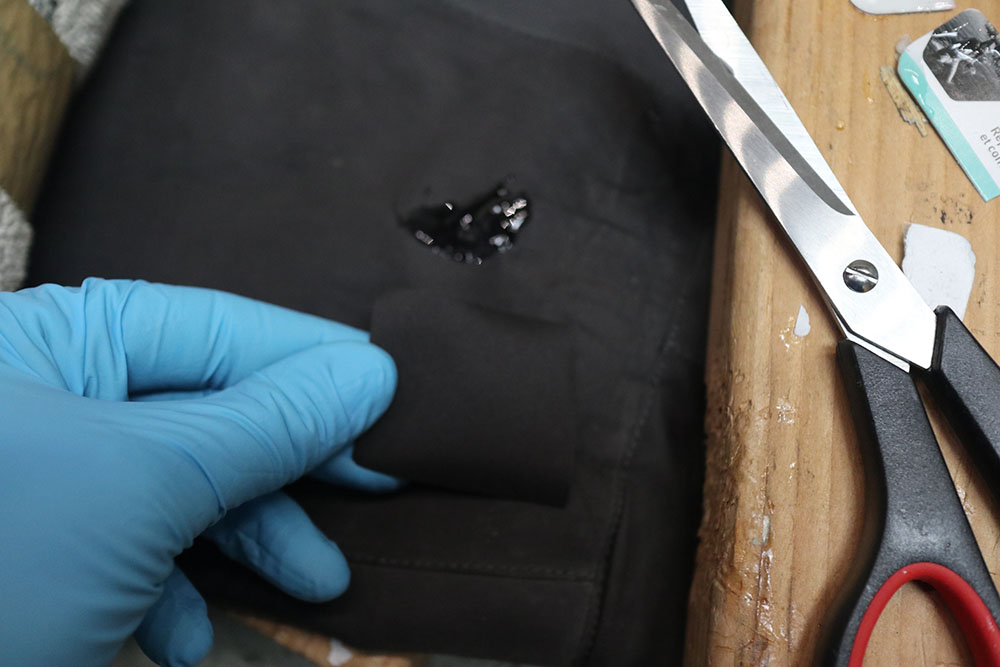
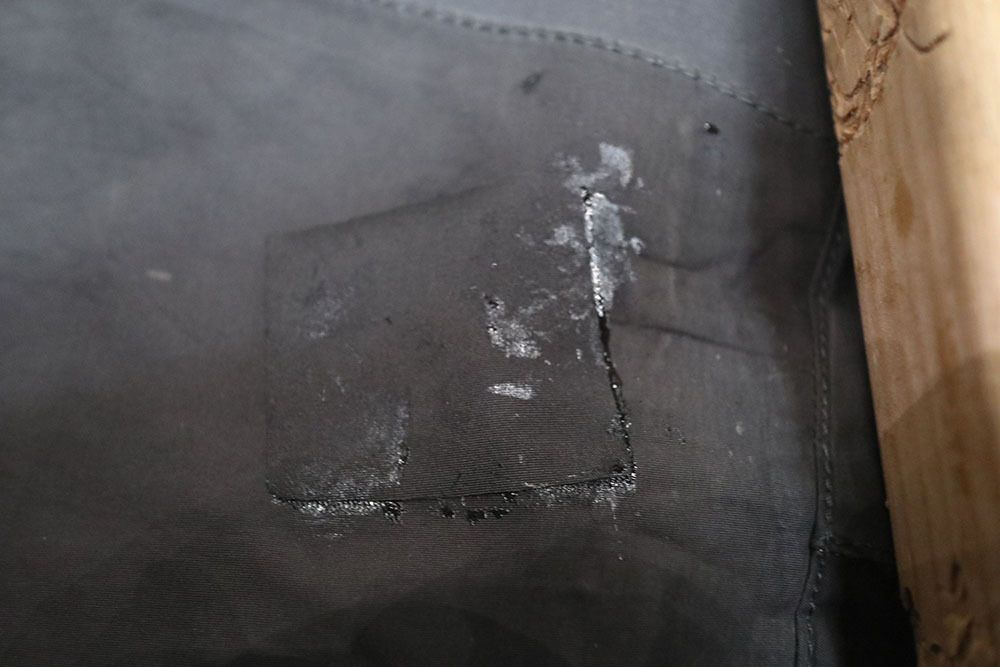
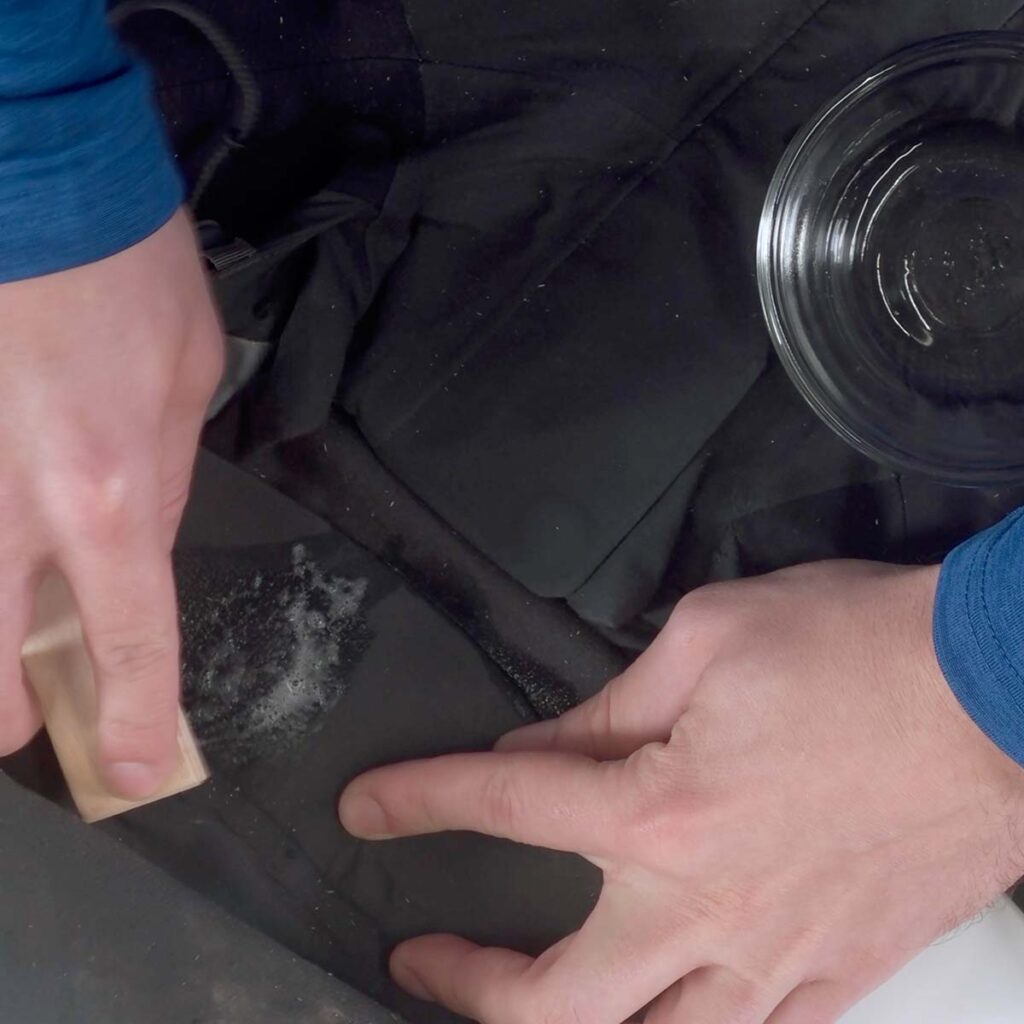
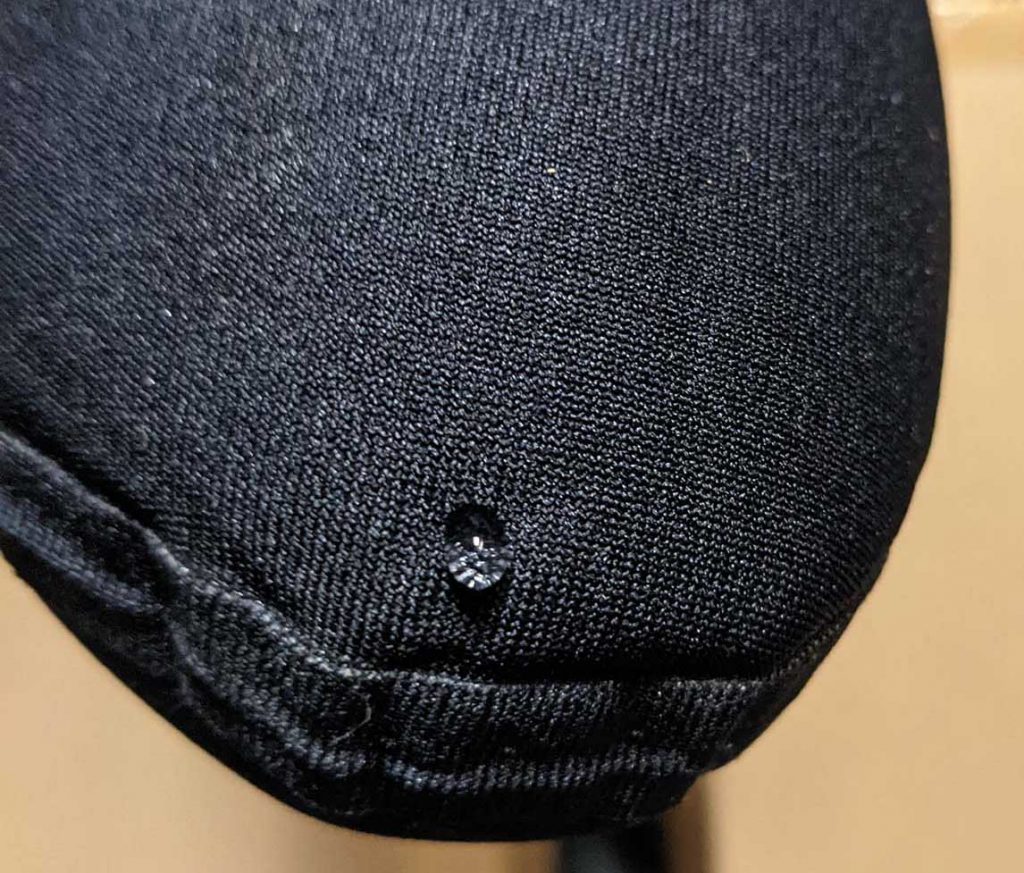
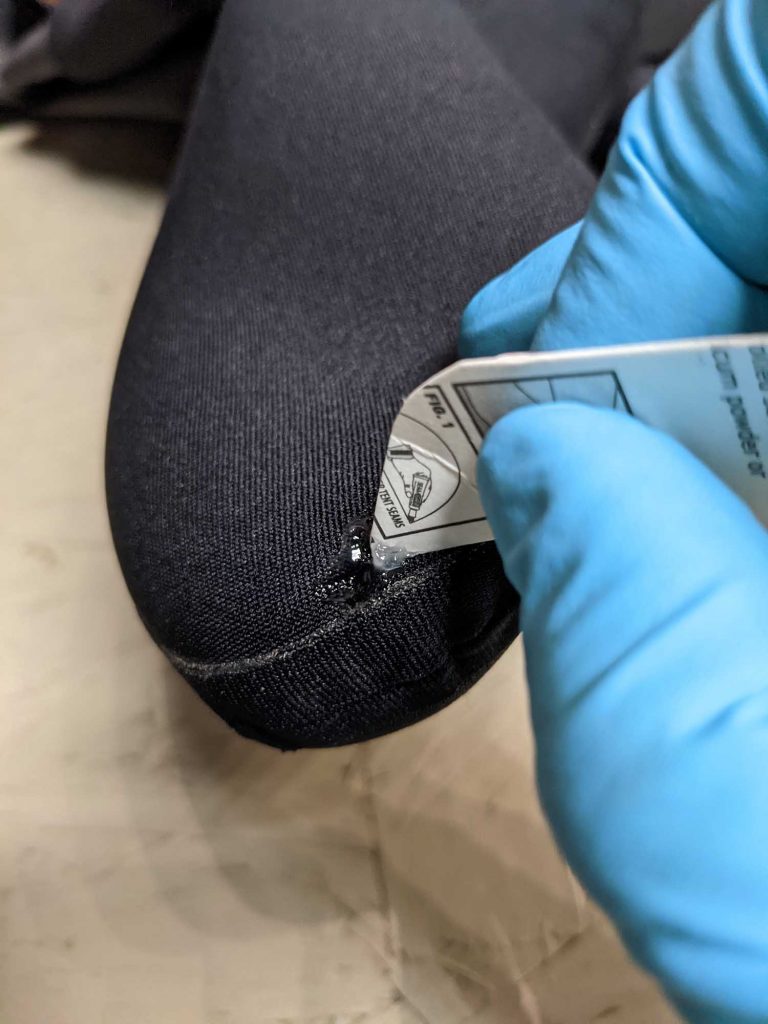
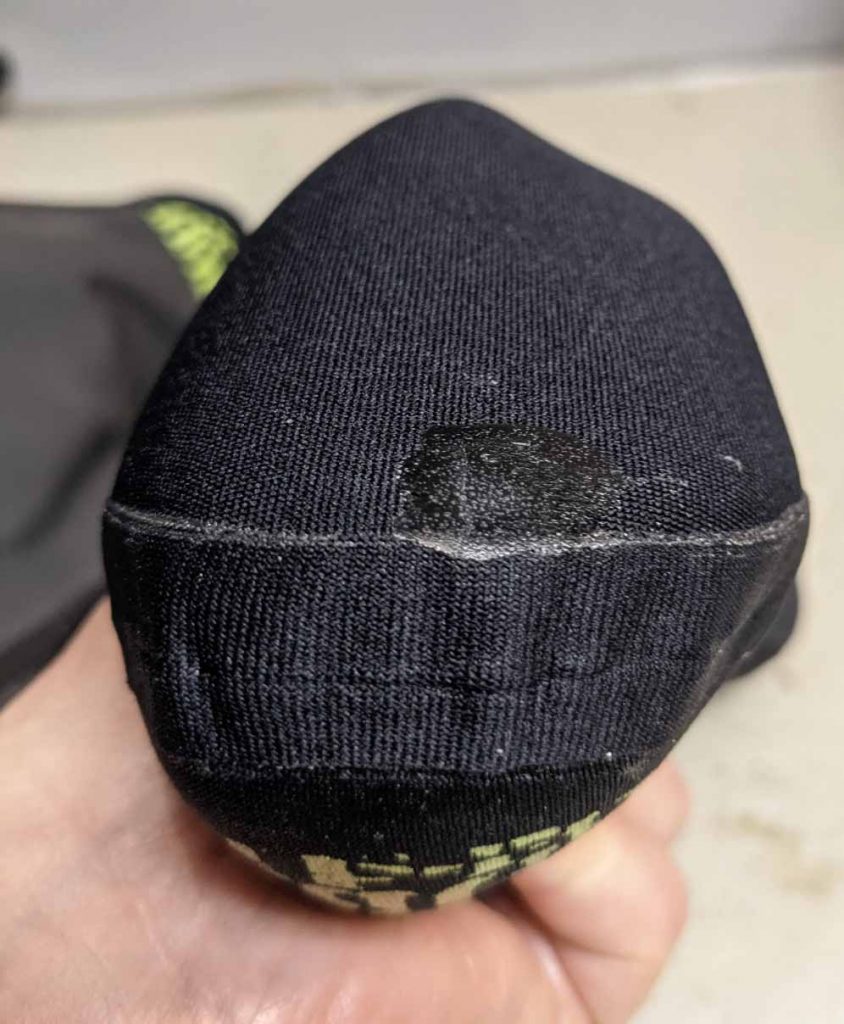
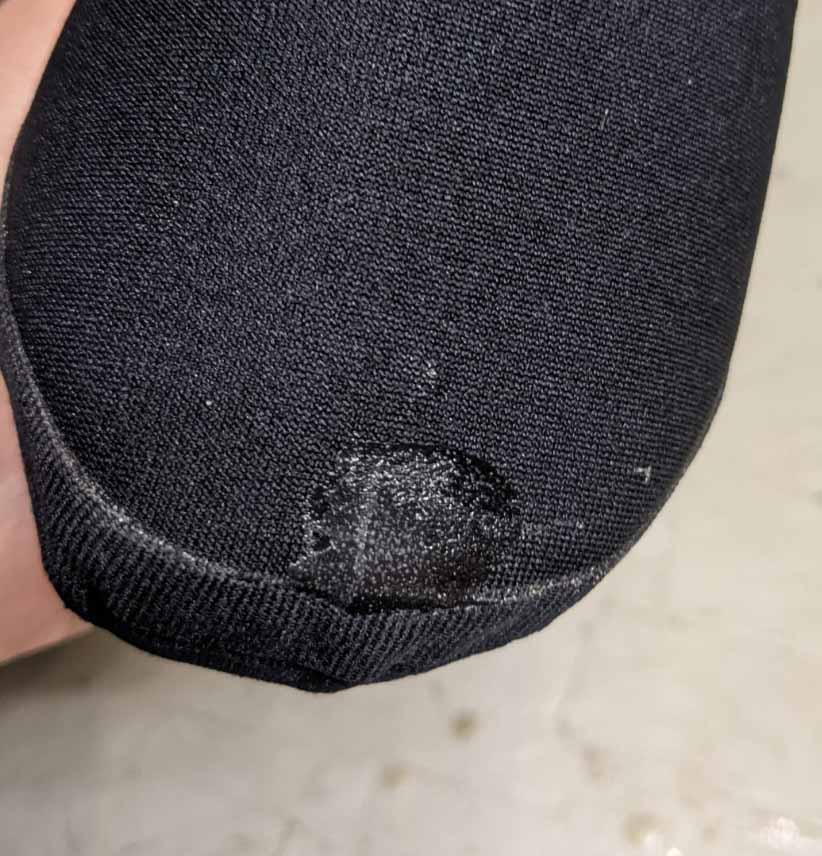
Find the hole. The first step is to look for differences in the area that seems to be letting water through. If you can see an indentation, or abrasion in the neoprene is a good indication that something is wrong in that spot. A surefire way to test the feet is to turn the waders inside out and fill the feet with water. Usually hanging the waders while doing this is the easiest way to control the flow of water when filling the inside. If there is a hole you’ll see water dripping out of it.

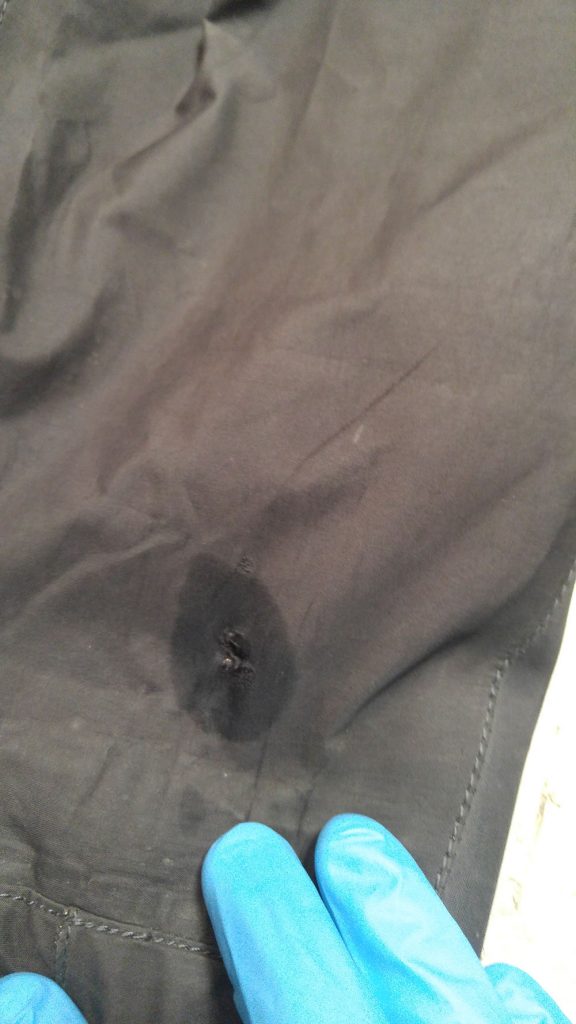
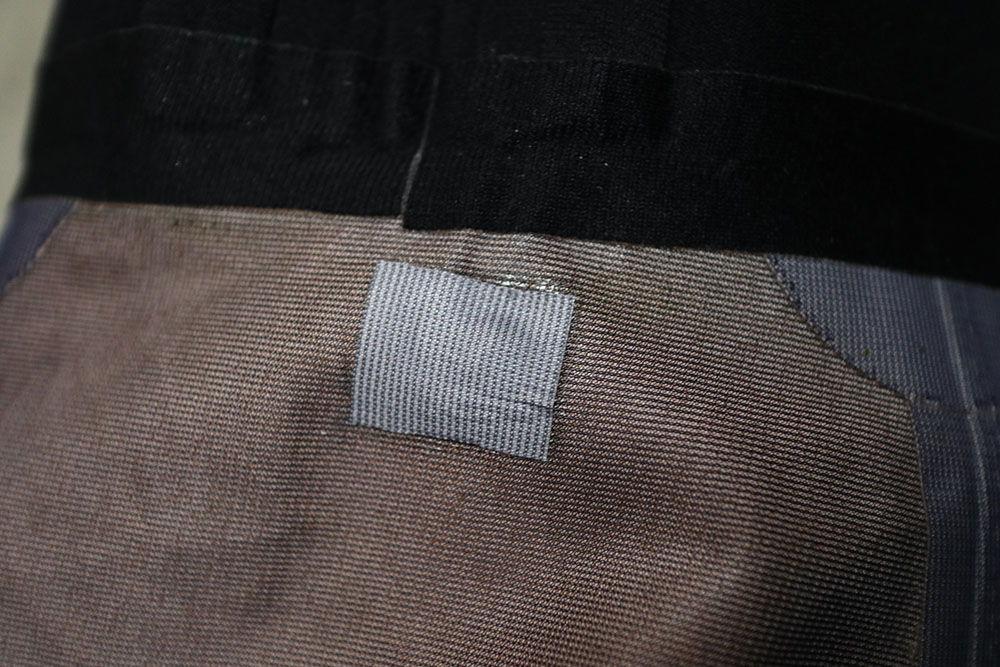
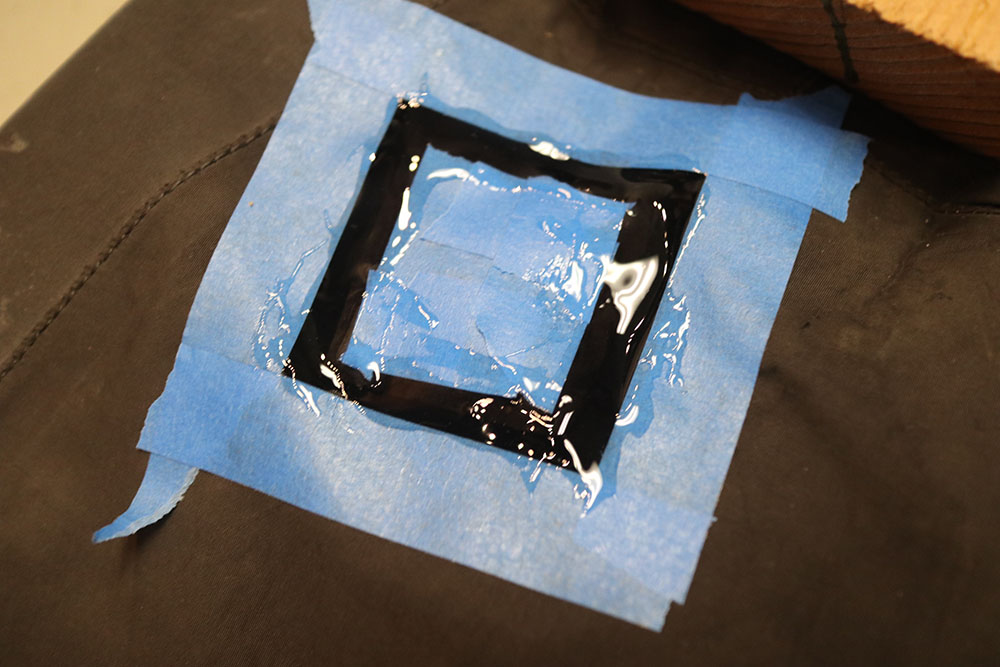
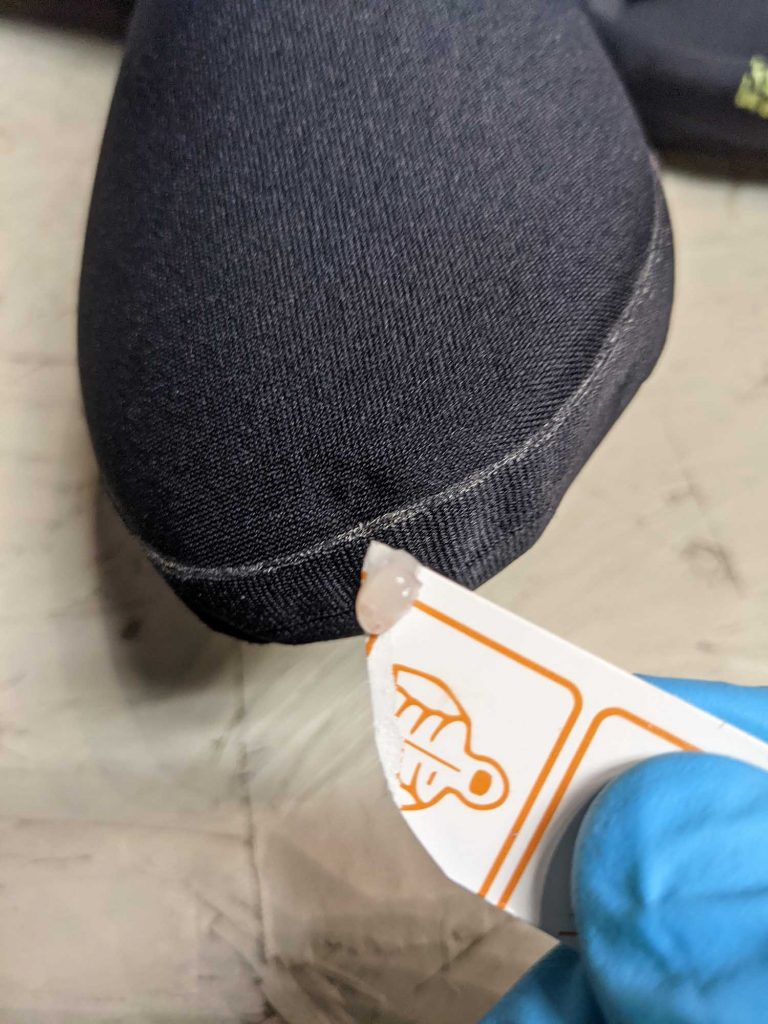
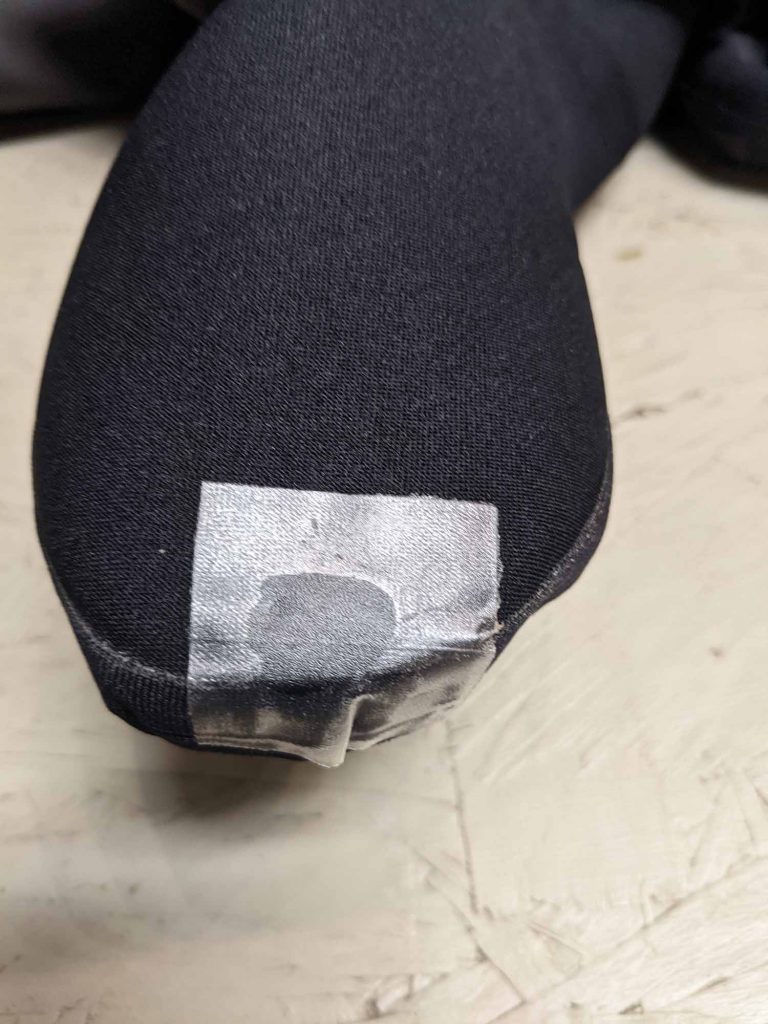
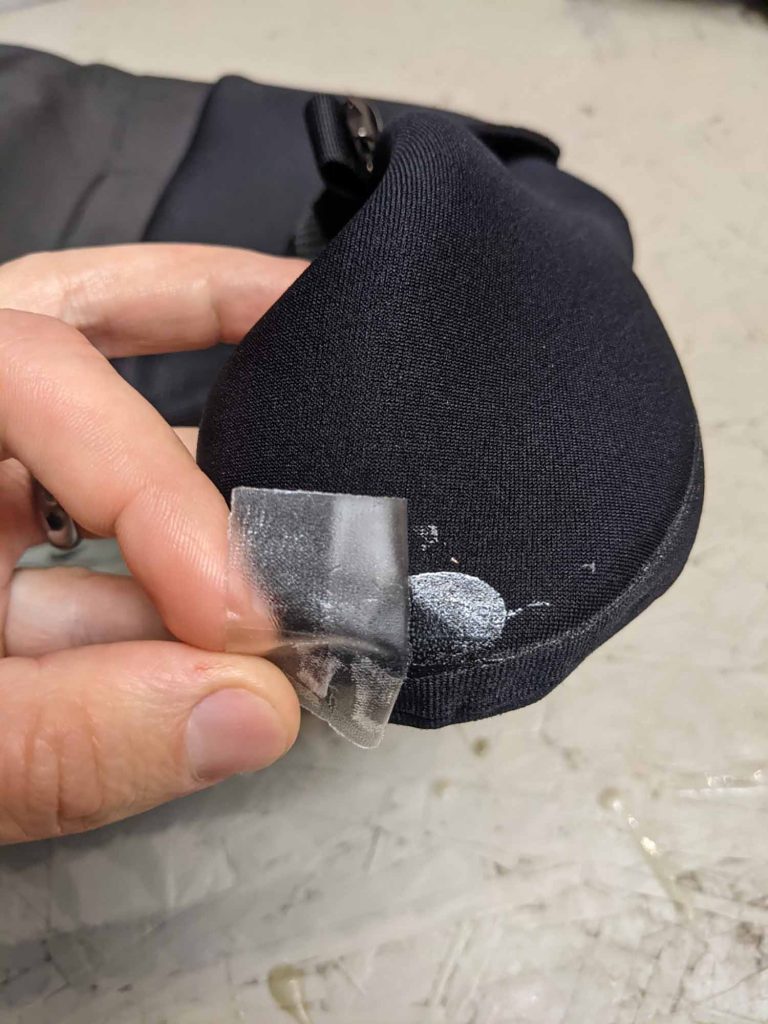
Next step; Fix the hole. Once the waders are dry this can be accomplished simply by rubbing a small amount of Aquaseal or Aquaseal NEO into the hole, making sure to rub it into the hole so that it fills the inside of the hole. We recommend backing the inside with some masking tape or Gearaid Tenacious Tape, and then filling the hole from the outside. Once it’s full and Aquaseal fills the hole apply a thin layer out to about 1/4-1/2″ on all sides of the hole. We like to apply a small piece of Tenacious Tape over the Aquaseal at this point, which will be removed later, to make a clean and smooth exterior to the patch.

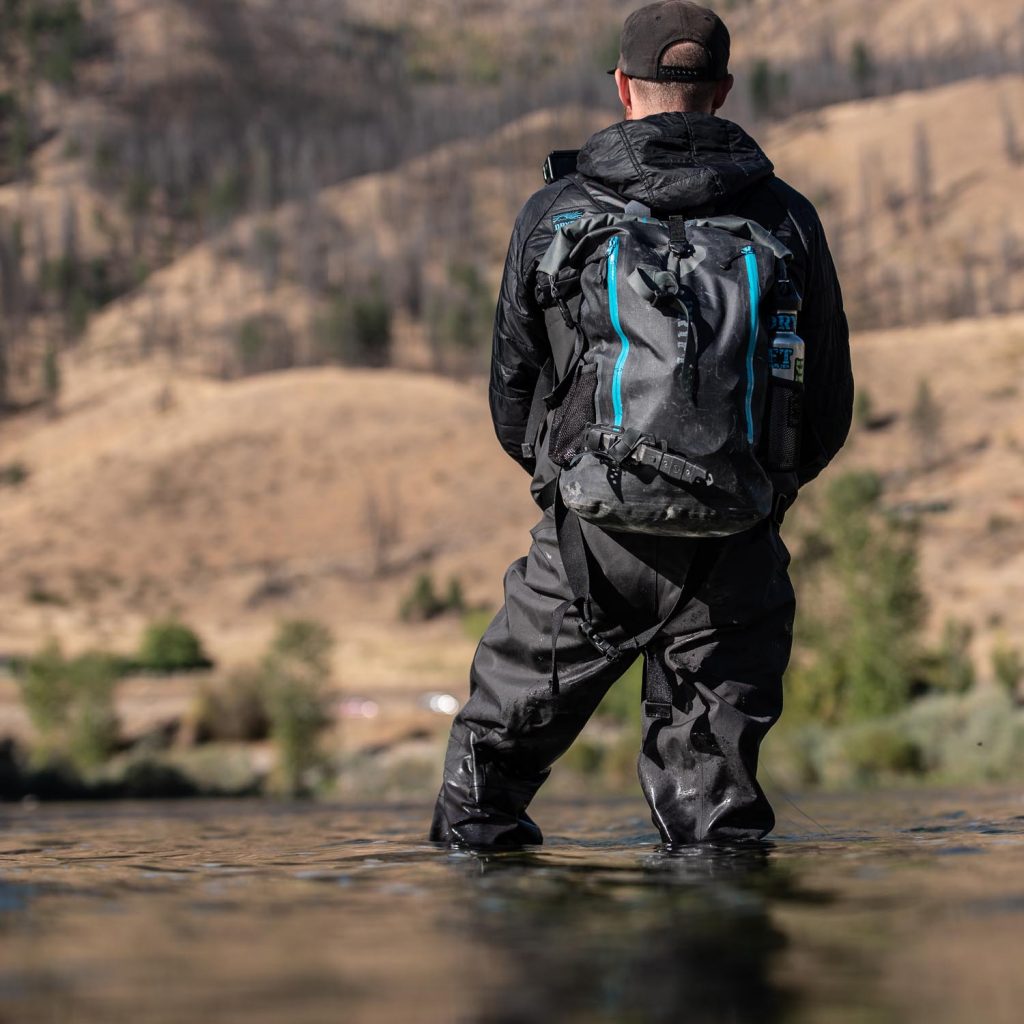
Final step; Go fishing!
Popular DRYFT wading products
-
 S14 Adrenaline Wader – Men’s$399.00
 -
 Primo Zip GD Wader$599.00
 -
Product on saleSALE
 Session GD Wading PantsOriginal price was: $349.00.$319.00Current price is: $319.00.
 -
 SEEKR Wading Pants$299.00
 -
 Primo Rain Jacket – Grey$379.00
 -
 Wizard Neck Sleeve │ UPF$19.99
 -
 Primo Rain Jacket – Black$379.00
 -
 Zipper Cleaner + Lubricant$6.95
 -
 Wading Suspenders$24.99